Pihole Setup
On one small device we can provide our home networks with both local DNS, ad blocking, and site blocking!
Contents
What You Will Need
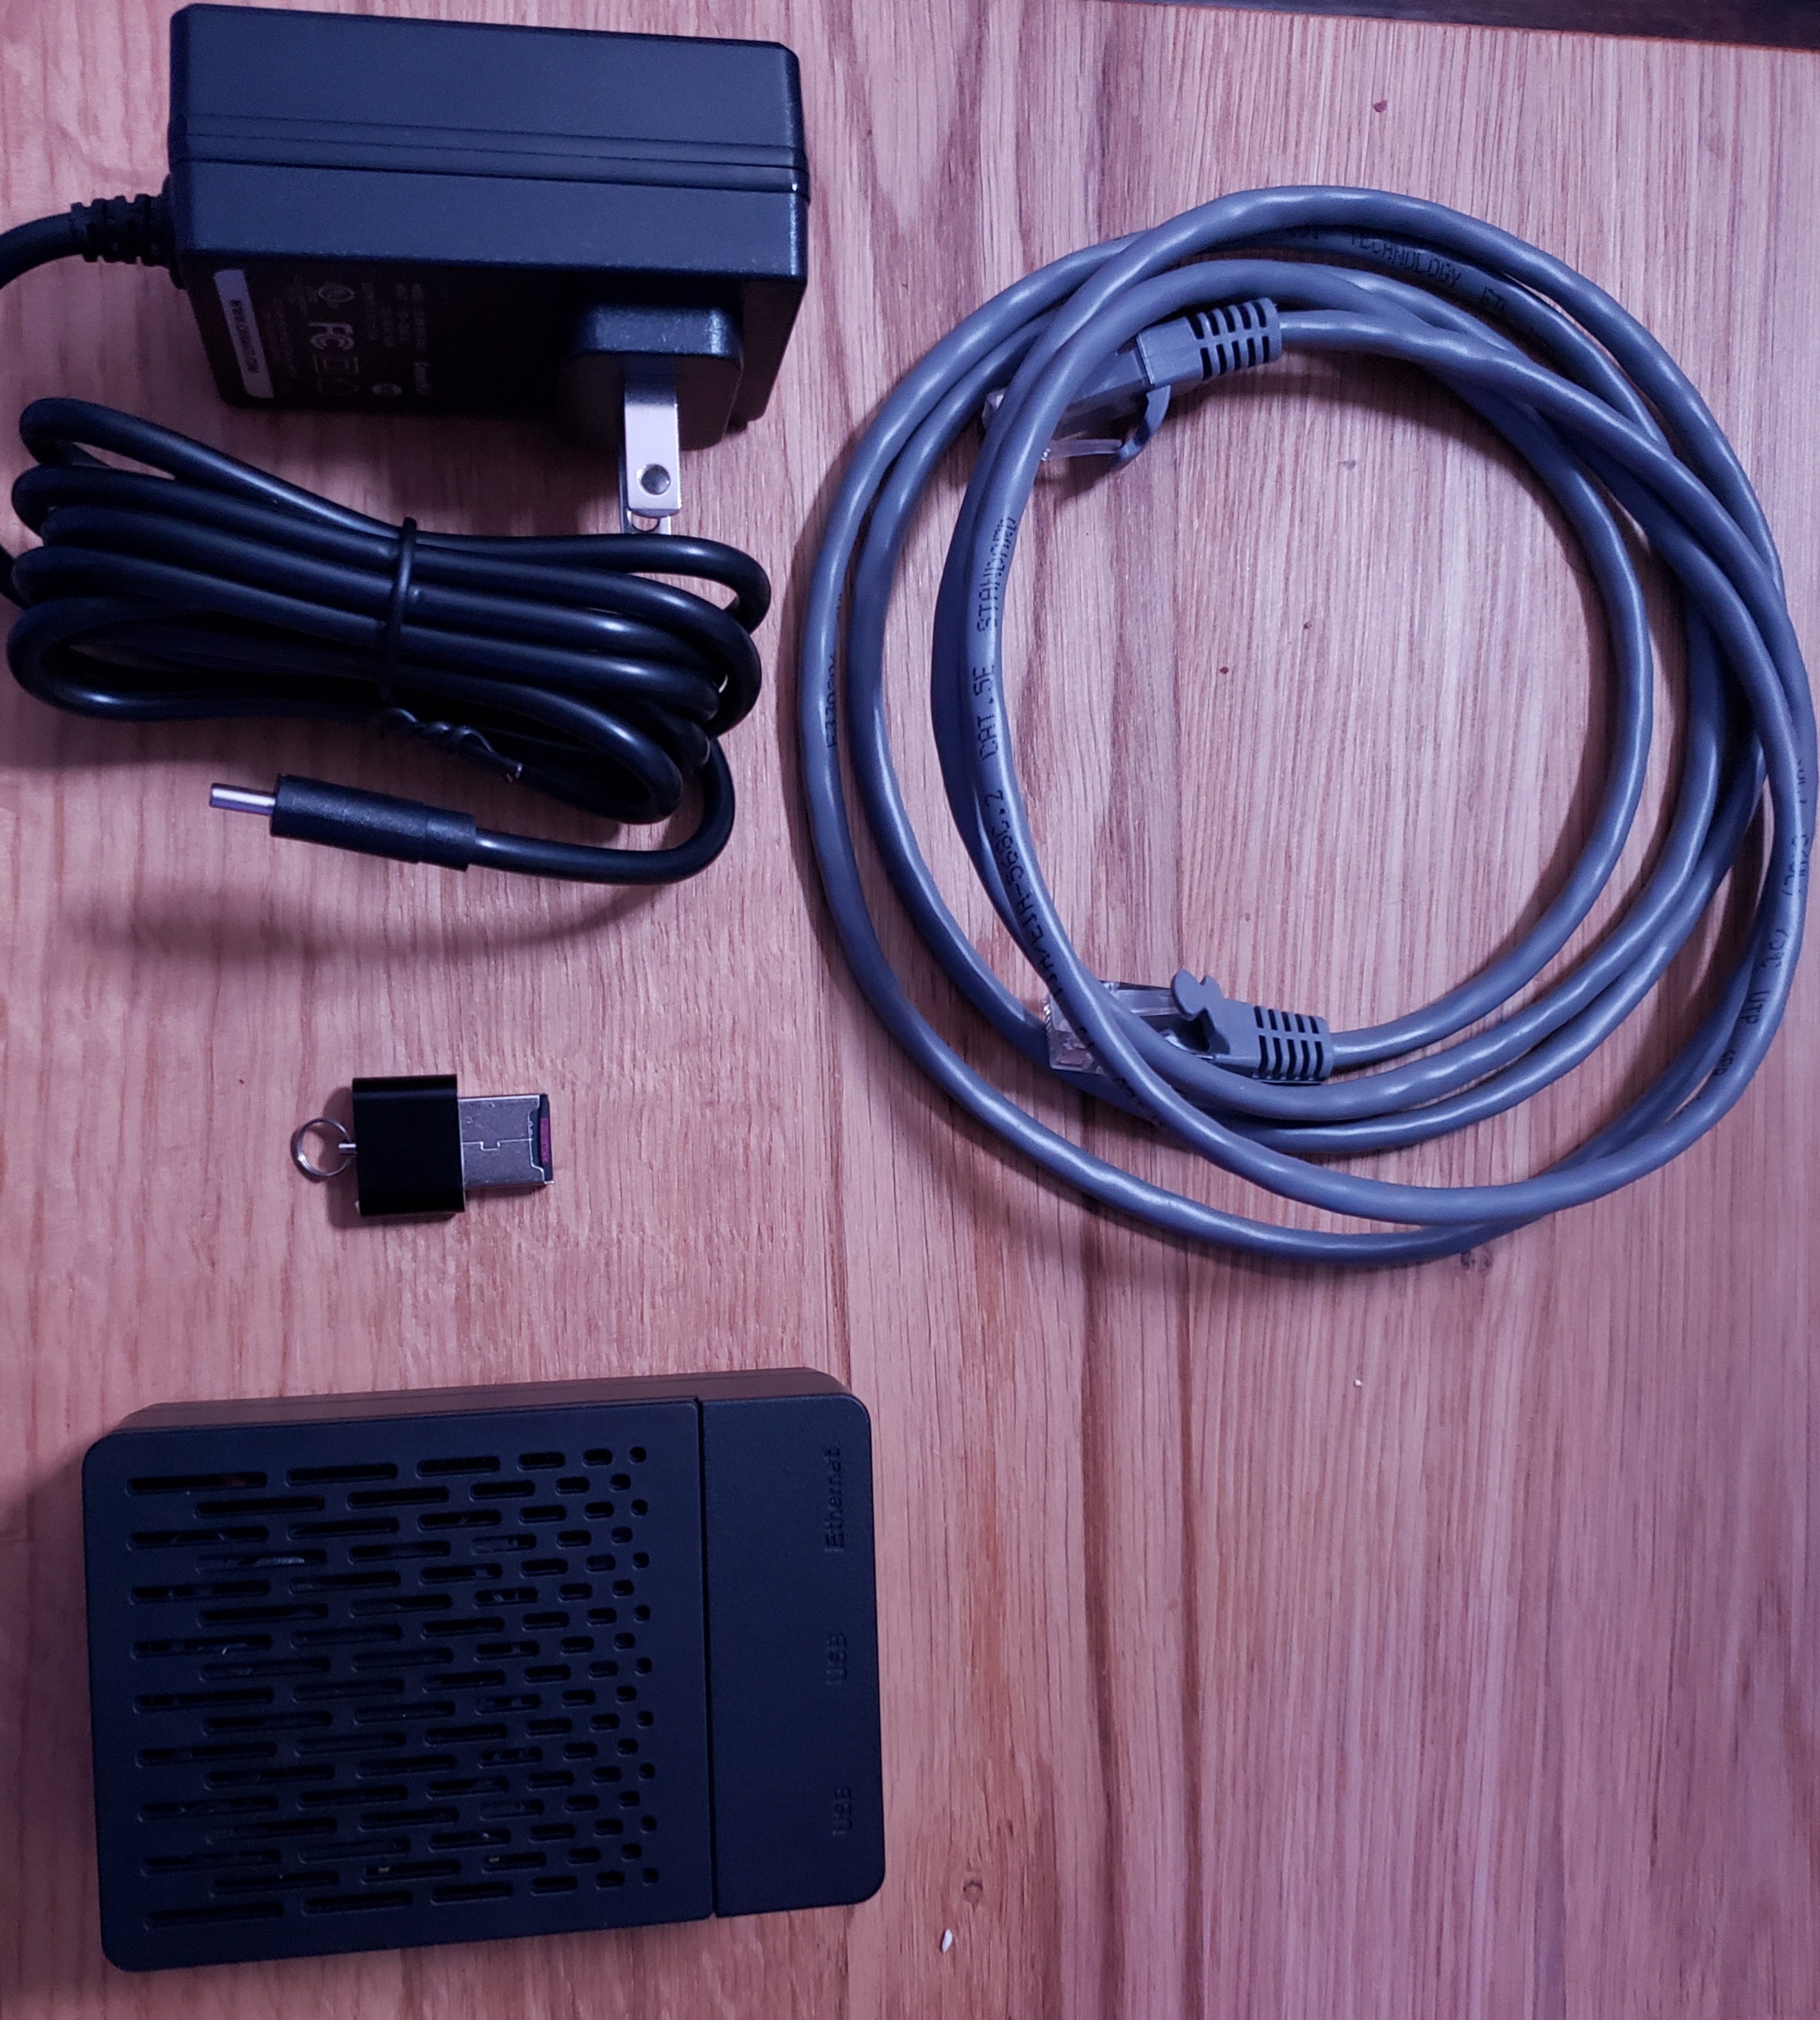
- A rasbperry Pi (I have the Model 4 with 2GB of RAM.)
- USB-C power adapter
- Ethernet Networking cable
- A network router/switch to plug into
- Micro SD card (I have a 32GB Sandisk)
- Optional but recommended case
- A domain name (using a free service is fine but I’ll be using a domain name I paid for with CloudFlare)
- Caffiene
All of the physical items, besides the switch/router & ethernet cable can be conveniently purchased as one kit on Amazon.
Getting Started and Installing the OS
Get your SD card and stick it into the USB card reader and plug it into your computer. Now we can load the OS on there. For this guide I’ll be using Raspbian Lite. If you want to use the Desktop version that’s up to you.
You can use any method you want to load the OS (Etcher, Rufus, etc.) I prefer to use the Raspberry Pi Imager.
Once it’s downloaded open it up and when I choose the OS I will select the Raspberry Pi OS (other) option and select Raspberry Pi OS Lite:


Next select your storage device (the micro SD card):

This is why I like to use this tool over others. While Etcher and Rufus are good, they will show ALL storage devices on your computer.. This means you could accidentally choose your PCs OS disk. We can’t make that mistake with the Raspberry Pi Imager.
Now you can select write and go grab a coffee. It’ll takes a few minutes.
IMPORTANT Open up the SD device in File Explorer and create a new file in the root of the filesystem called ssh No extensions just ssh and leave it blank. Now you can eject it and move onto the next section.
First time Pi Setup
Insert the newly formatted SD card into the pi, plug in a network cable to the pi, and finally plug in the USBC cable giving it power.
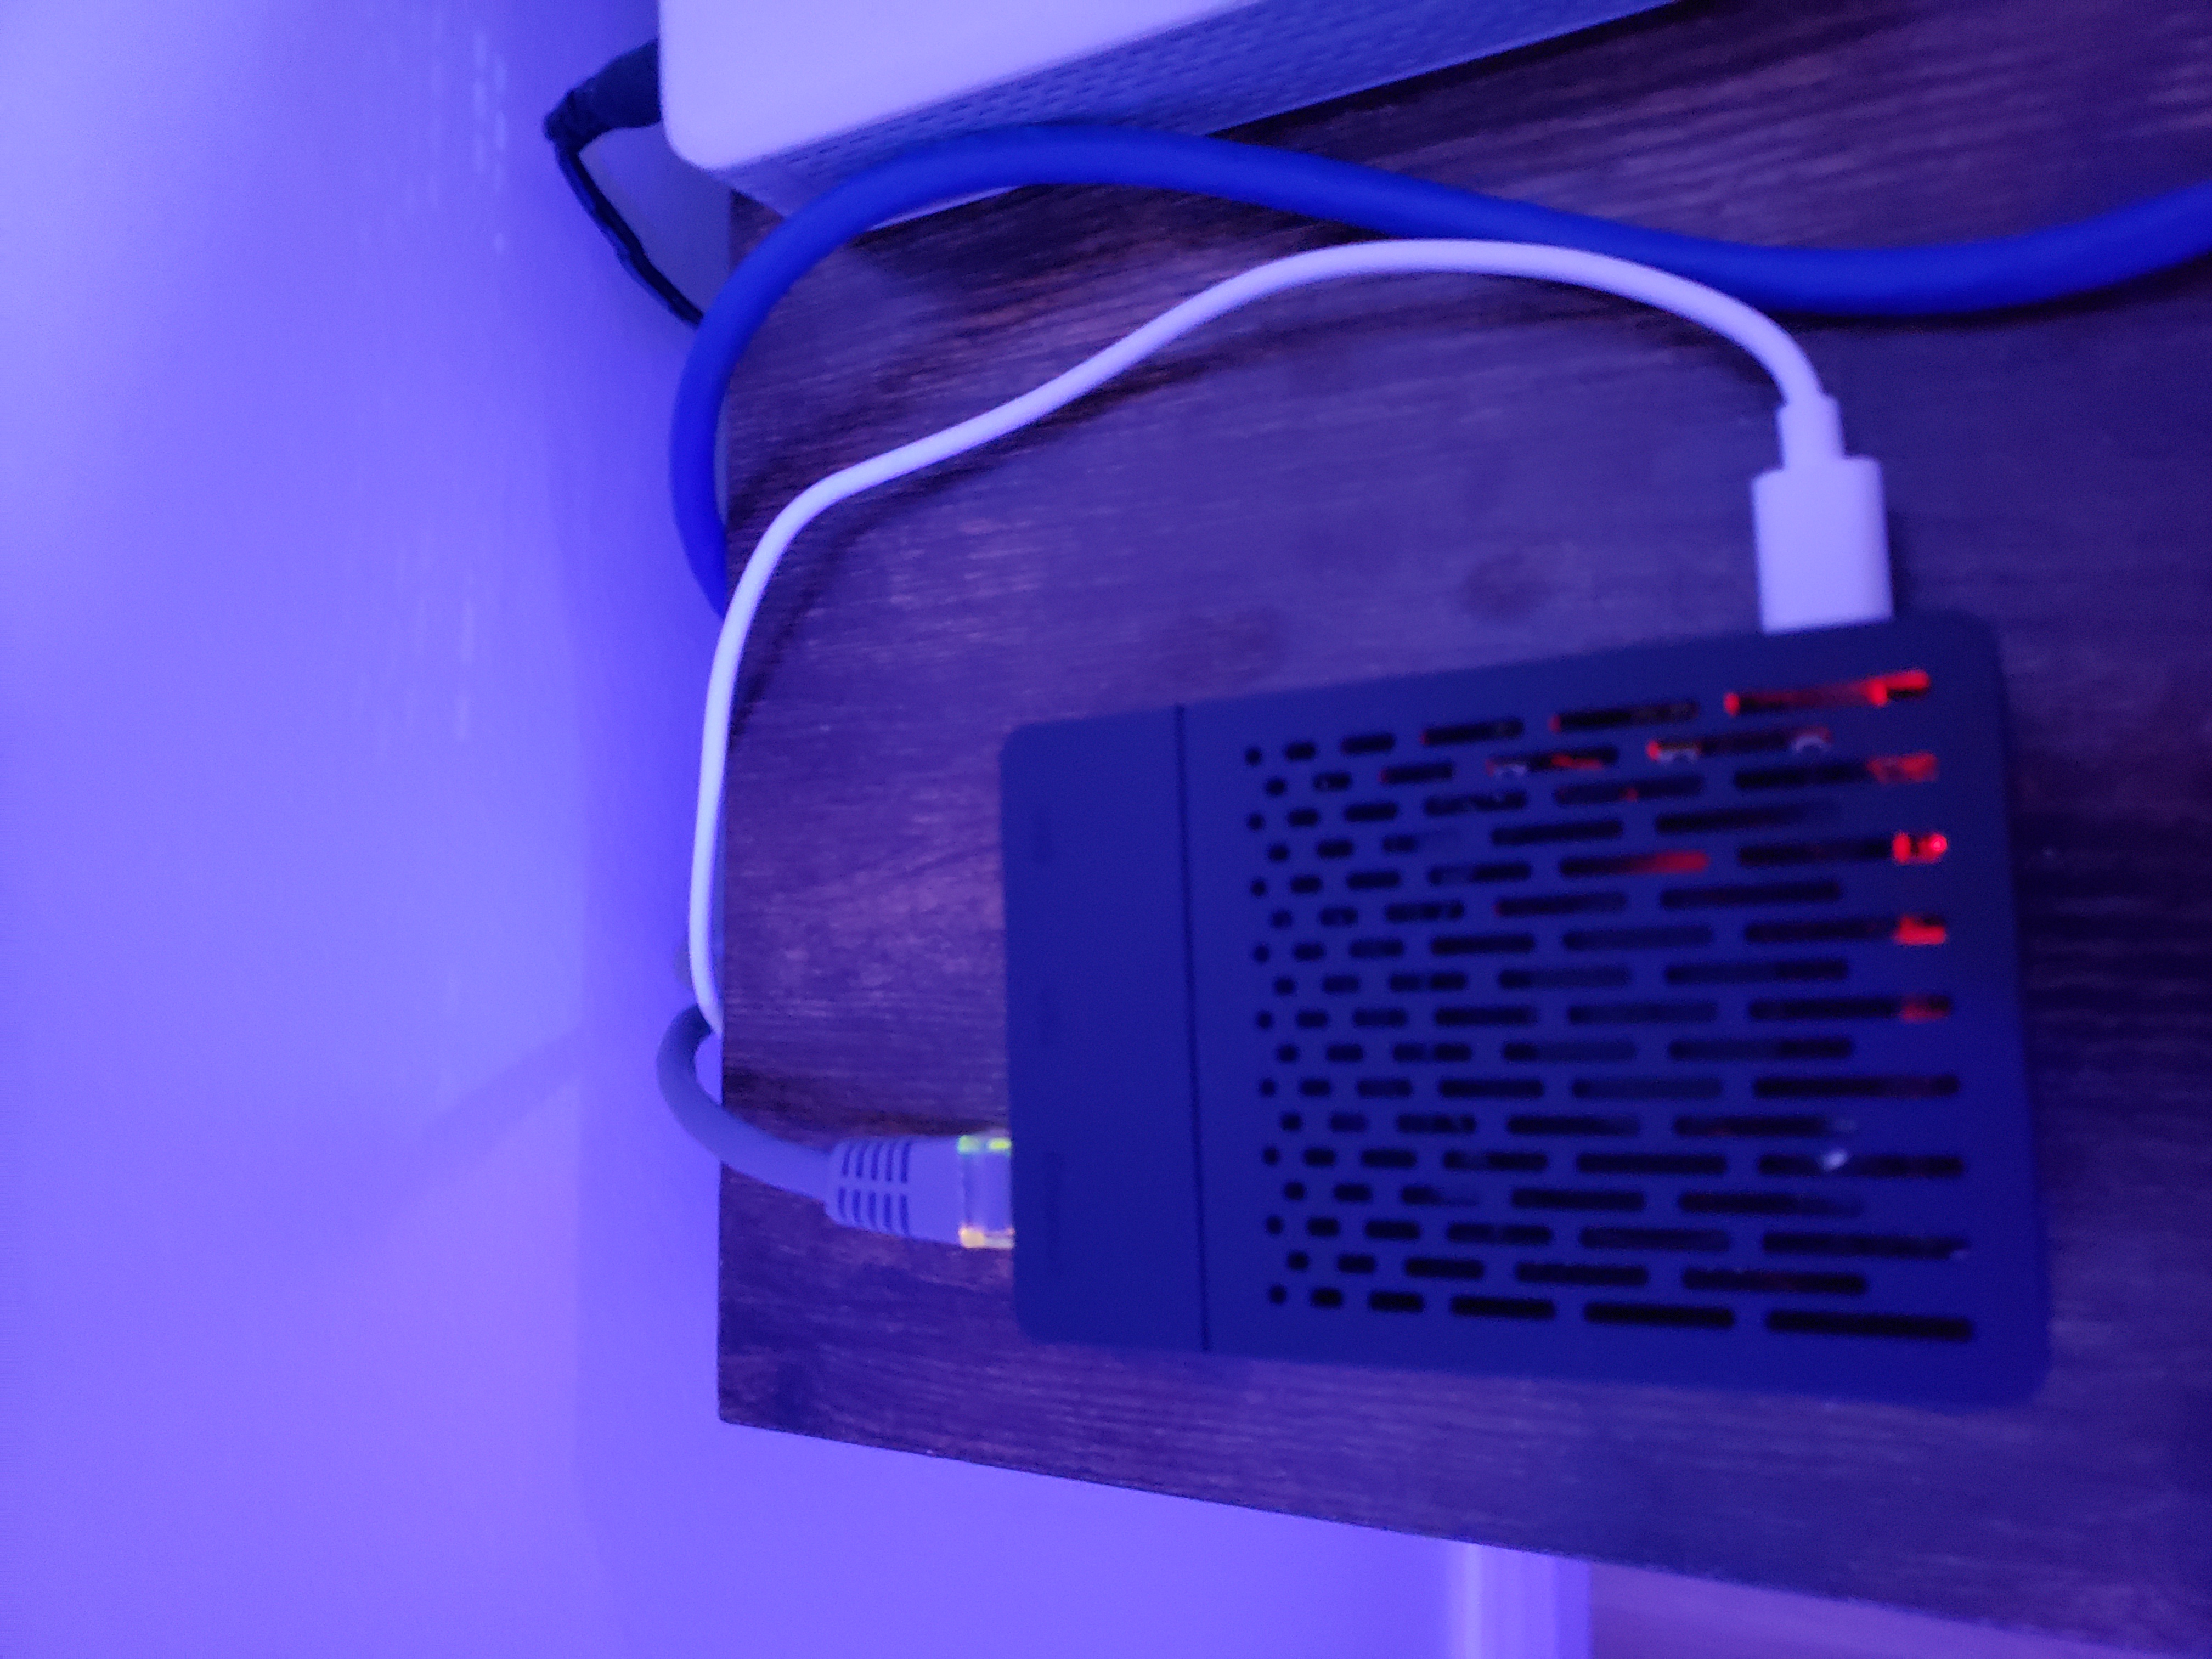 One happy Pi.
Once it’s online you will need to find it’s ip address. The easiest way to do this is by going to your router interface and find the new raspberrypi device or use an ip scanner tool. Mine is connected to a switch so I know the exact port and can find it that way.
Here it is on my network:

I am using the Unifi Control Panel to view this.
Once we have the ip address we can access it via ssh (this is why the ssh file was created earlier. Without it we couldn’t access our pi via ssh). This is known as a headless setup.
Open up Powershell on Windows or Terminal on Mac/Linux and issue the command ssh pi@YOURPISIPADDRESS. Type yes and enter to add the ssh key to your known hosts. Enter the default password raspberry and you’re in!
The very first thing you’ll want to do is change the default password. Issue the command passwd:

Now let’s update the OS with sudo apt update -y && sudo apt upgrade -y This will do it’s thing and get it’s OS and packages up to date. At this point we’re ready to get on with getting Pi-Hole and piVPN up and running, but I like to install a few extras before I get going.
sudo apt-get install vim net-tools git -y.
Setting Static IP
Open up the dhcpd.conf file with a terminal editor:
sudo vim /etc/dhcpd.conf and enter the following values:
interface eth0
static ip_address=YOUR_PI_IP
static routers=YOUR_ROUTER_IP
static domain_name_servers=YOUR_ROUTER_IP
save the file and reboot your pi with sudo reboot.
Installing PiHole
Via the Pi-Hole project Github README issue the following command to go through with the automated install:
curl -sSL https://install.pi-hole.net | bash
You will end up at this Terminal UI:
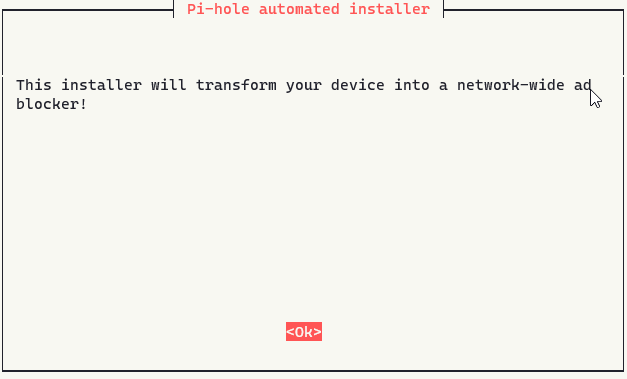
It’s a pretty simple setup through the terminal UI installation. Go through the first couple of pages selecting yes until you get to this page:
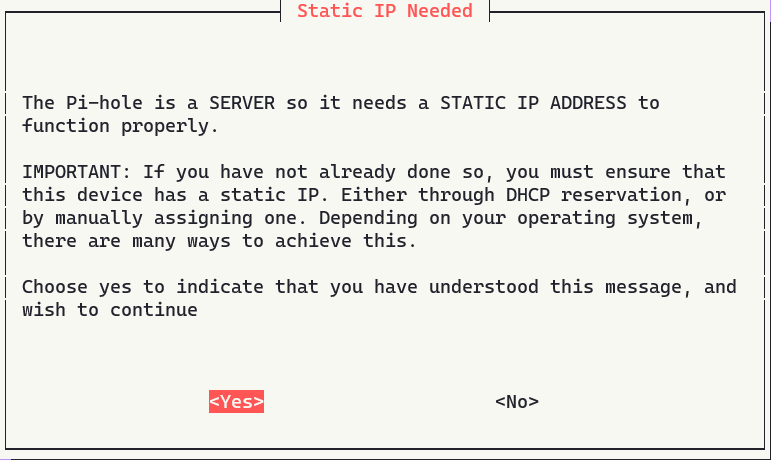
Make sure you’ve either set a DHCP reservation or assigned your Pi a static IP either through the dhcp daemon or at the NIC itself.
You will be presented with a list of DNS providers as the upstream DNS:
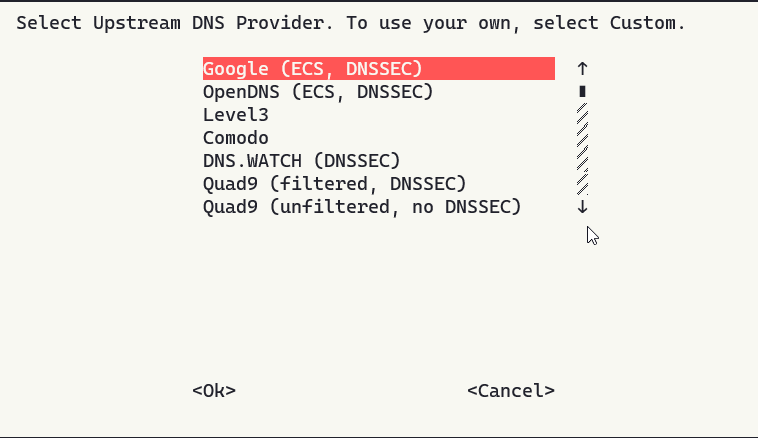
This is up to you. Personally I chose CloudFlare as I use their services for all my other homelab needs be it domains or Reverse Proxies. I trust their platform, and they use excellent up to date DNSSEC.
Go through the next few steps, confirm the ip address is correct and move onto this part:
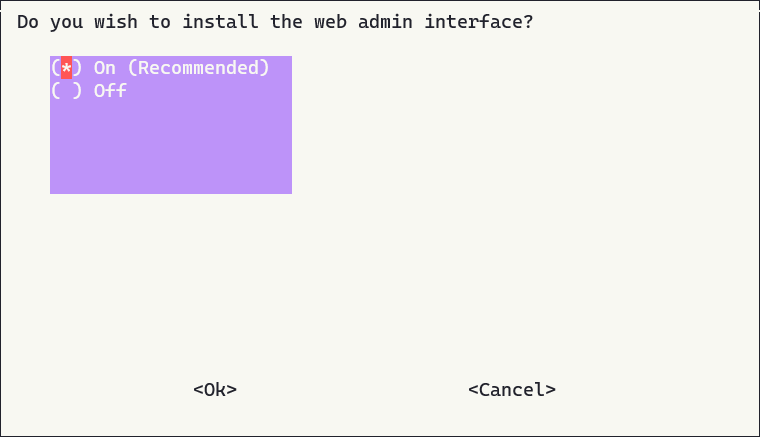
We want to leave this option select, DO NOT unselect this unless you want to go through the installation process again.
continue with yes as the default option until it’s installing.
You should now get an Installation Complete! page:
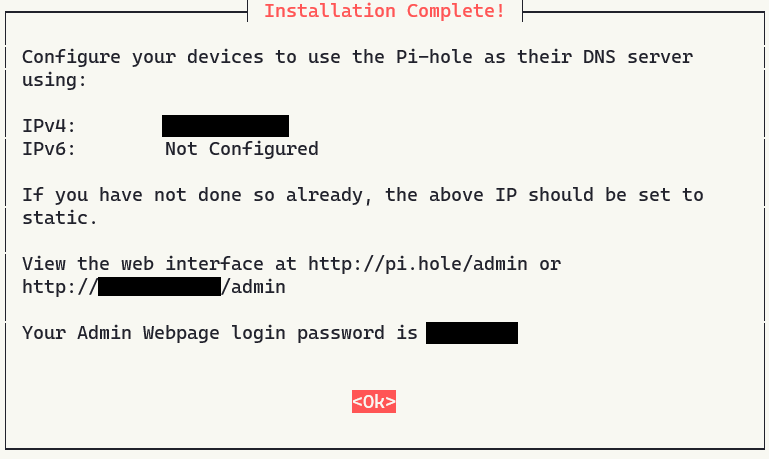
Now go to one of those addresses listed and view the admin panel!
Set your Router To use Pi-hole
One last thing before we can start seeing statistics.. Your router should still be using itself (your isp) as the DNS server. Let’s change that to make Pi-Hole the default.
Go into your router’s admin interface (typically it’s 192.168.0.1 or 10.0.0.1 if it still is change it to something else). Every router is different so you will have to find out where to look for DNS settings with your router model.
I use Ubiquiti Unifi network gear so I’ll show you what it looks like on my end.
In the Unifi Control Panel I’ll go to Settings then Networks and find my WAN network and select edit:
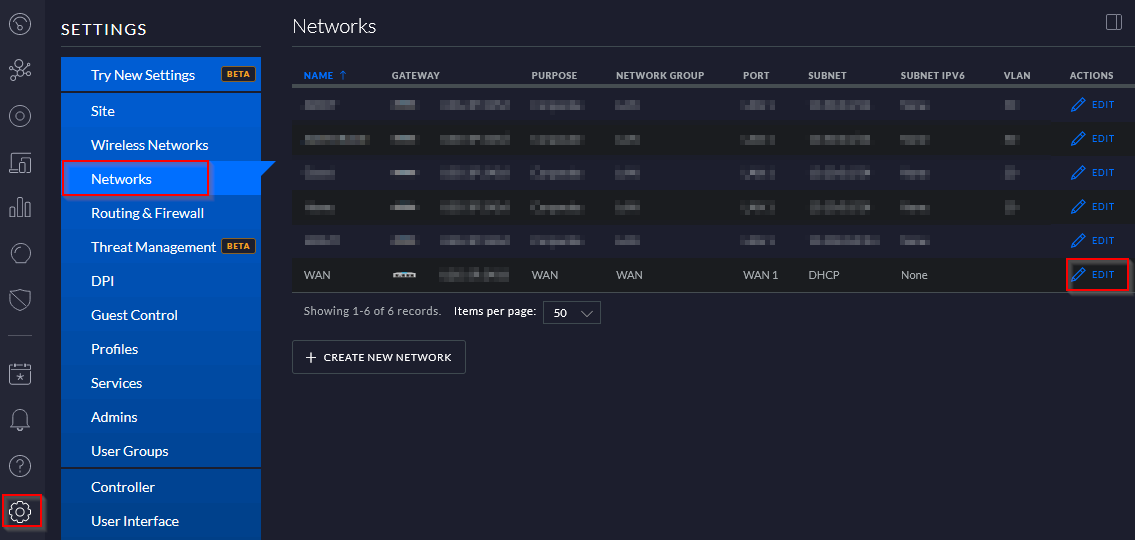
Now under Common Settings enter in your Pi-Hole address as the DNS Server 1, and I used Cloudflares DNS servers as the DNS Server 2 1.1.1.1 just for a failsafe.
Click on Save and the gateway will provision.
After a couple minutes you should start seeing queries, ads, and domains being actively blocked on the Pi-Hole Admin interface!
Configuring blocklists
Setting up Pi-Hole will give you one list already, and it’s pretty good. But if you want more lists I’d recommend this Reddit post in the Pi-Hole subreddit.
The process of updating blocklists in Pi-Hole is very simple.
First go into the admin UI of Pi-Hole, Group Management, Adlists:
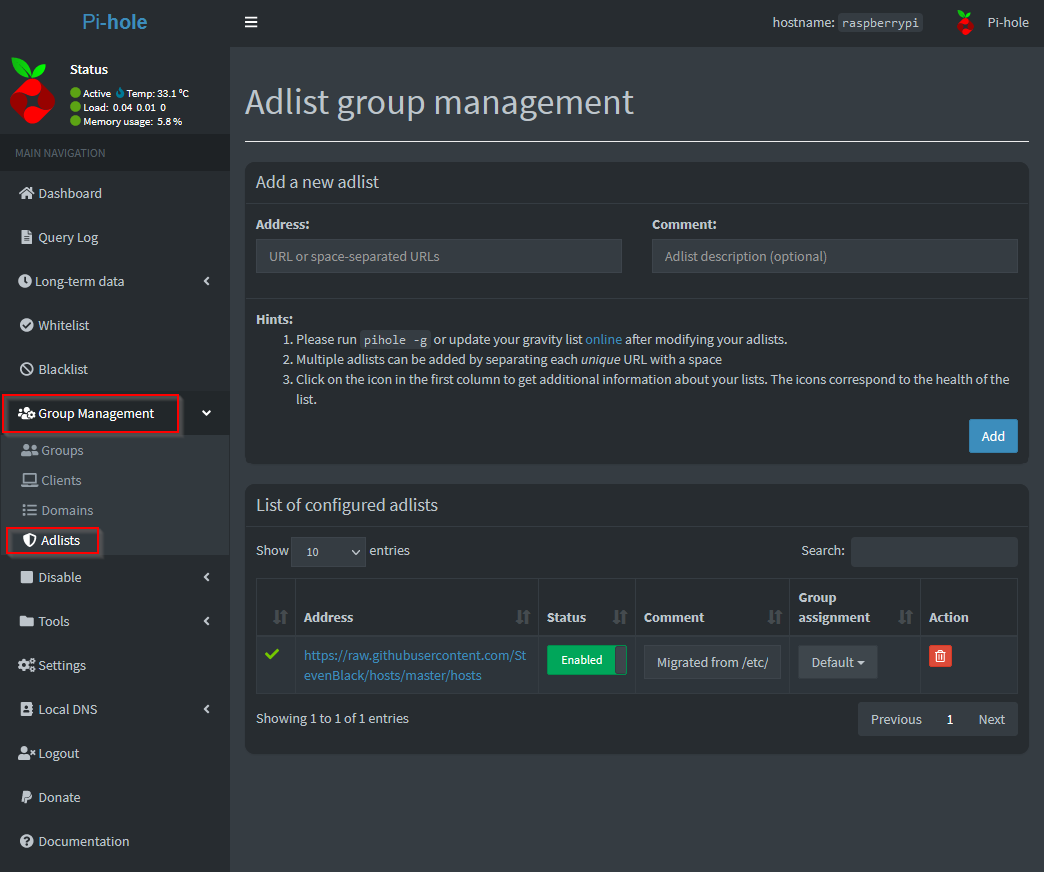
You can use the Address: field to paste any address (This includes a list of many urls from the reddit post linked above for example).
Simply select Add and it will add that address to the configured adlists.